Elevator shaft conflicts are one of the most disruptive issues during new construction—and the earlier they’re detected in your BIM workflow, the fewer headaches you’ll face on site. At Kaiser Elevator, we’ve seen how coordinated, detail-driven modeling in Revit helps real estate developers, general contractors, architects, and consultants transform elevator installation from a coordination risk into a well-controlled, timeline-friendly phase that preserves project budget and client trust.

Why Shaft Conflicts Happen—and How BIM Changes the Game
Most elevator-related rework stems from designing the shaft as an afterthought, or in disconnected silos. Common culprits:
- Structural columns or beams in the planned shaft area
- MEP lines (ductwork, sprinkler mains, electrical) unintentionally crossing the opening
- Non-aligned shaft openings, off-spec slab interruptions, or misaligned door levels
- Last-minute relocations that ripple through the project core
Each issue can result in weeks of schedule delay and major financial overruns. By embedding accurate shaft modeling in your Revit workflow and coordinating it with all design teams from the start, you minimize risk, enhance bid clarity, and avoid costly change orders.
Step 1: Precise Floor-to-Floor Leveling in Revit
Get the basic geometry right—if your floor-to-floor heights or levels are off, every dimension that follows will carry forward the error. Start by:
- Defining every served floor in the shared Revit model, including below-grade and penthouse levels
- Separately documenting finished floor elevations and structural slabs (so your shaft matches both finishes and structure)
- Synchronizing all discipline templates to avoid mismatched levels
Our recommendation: Confirm typical floor heights with your structural engineer, then lock those levels early to prevent accidental shifts.
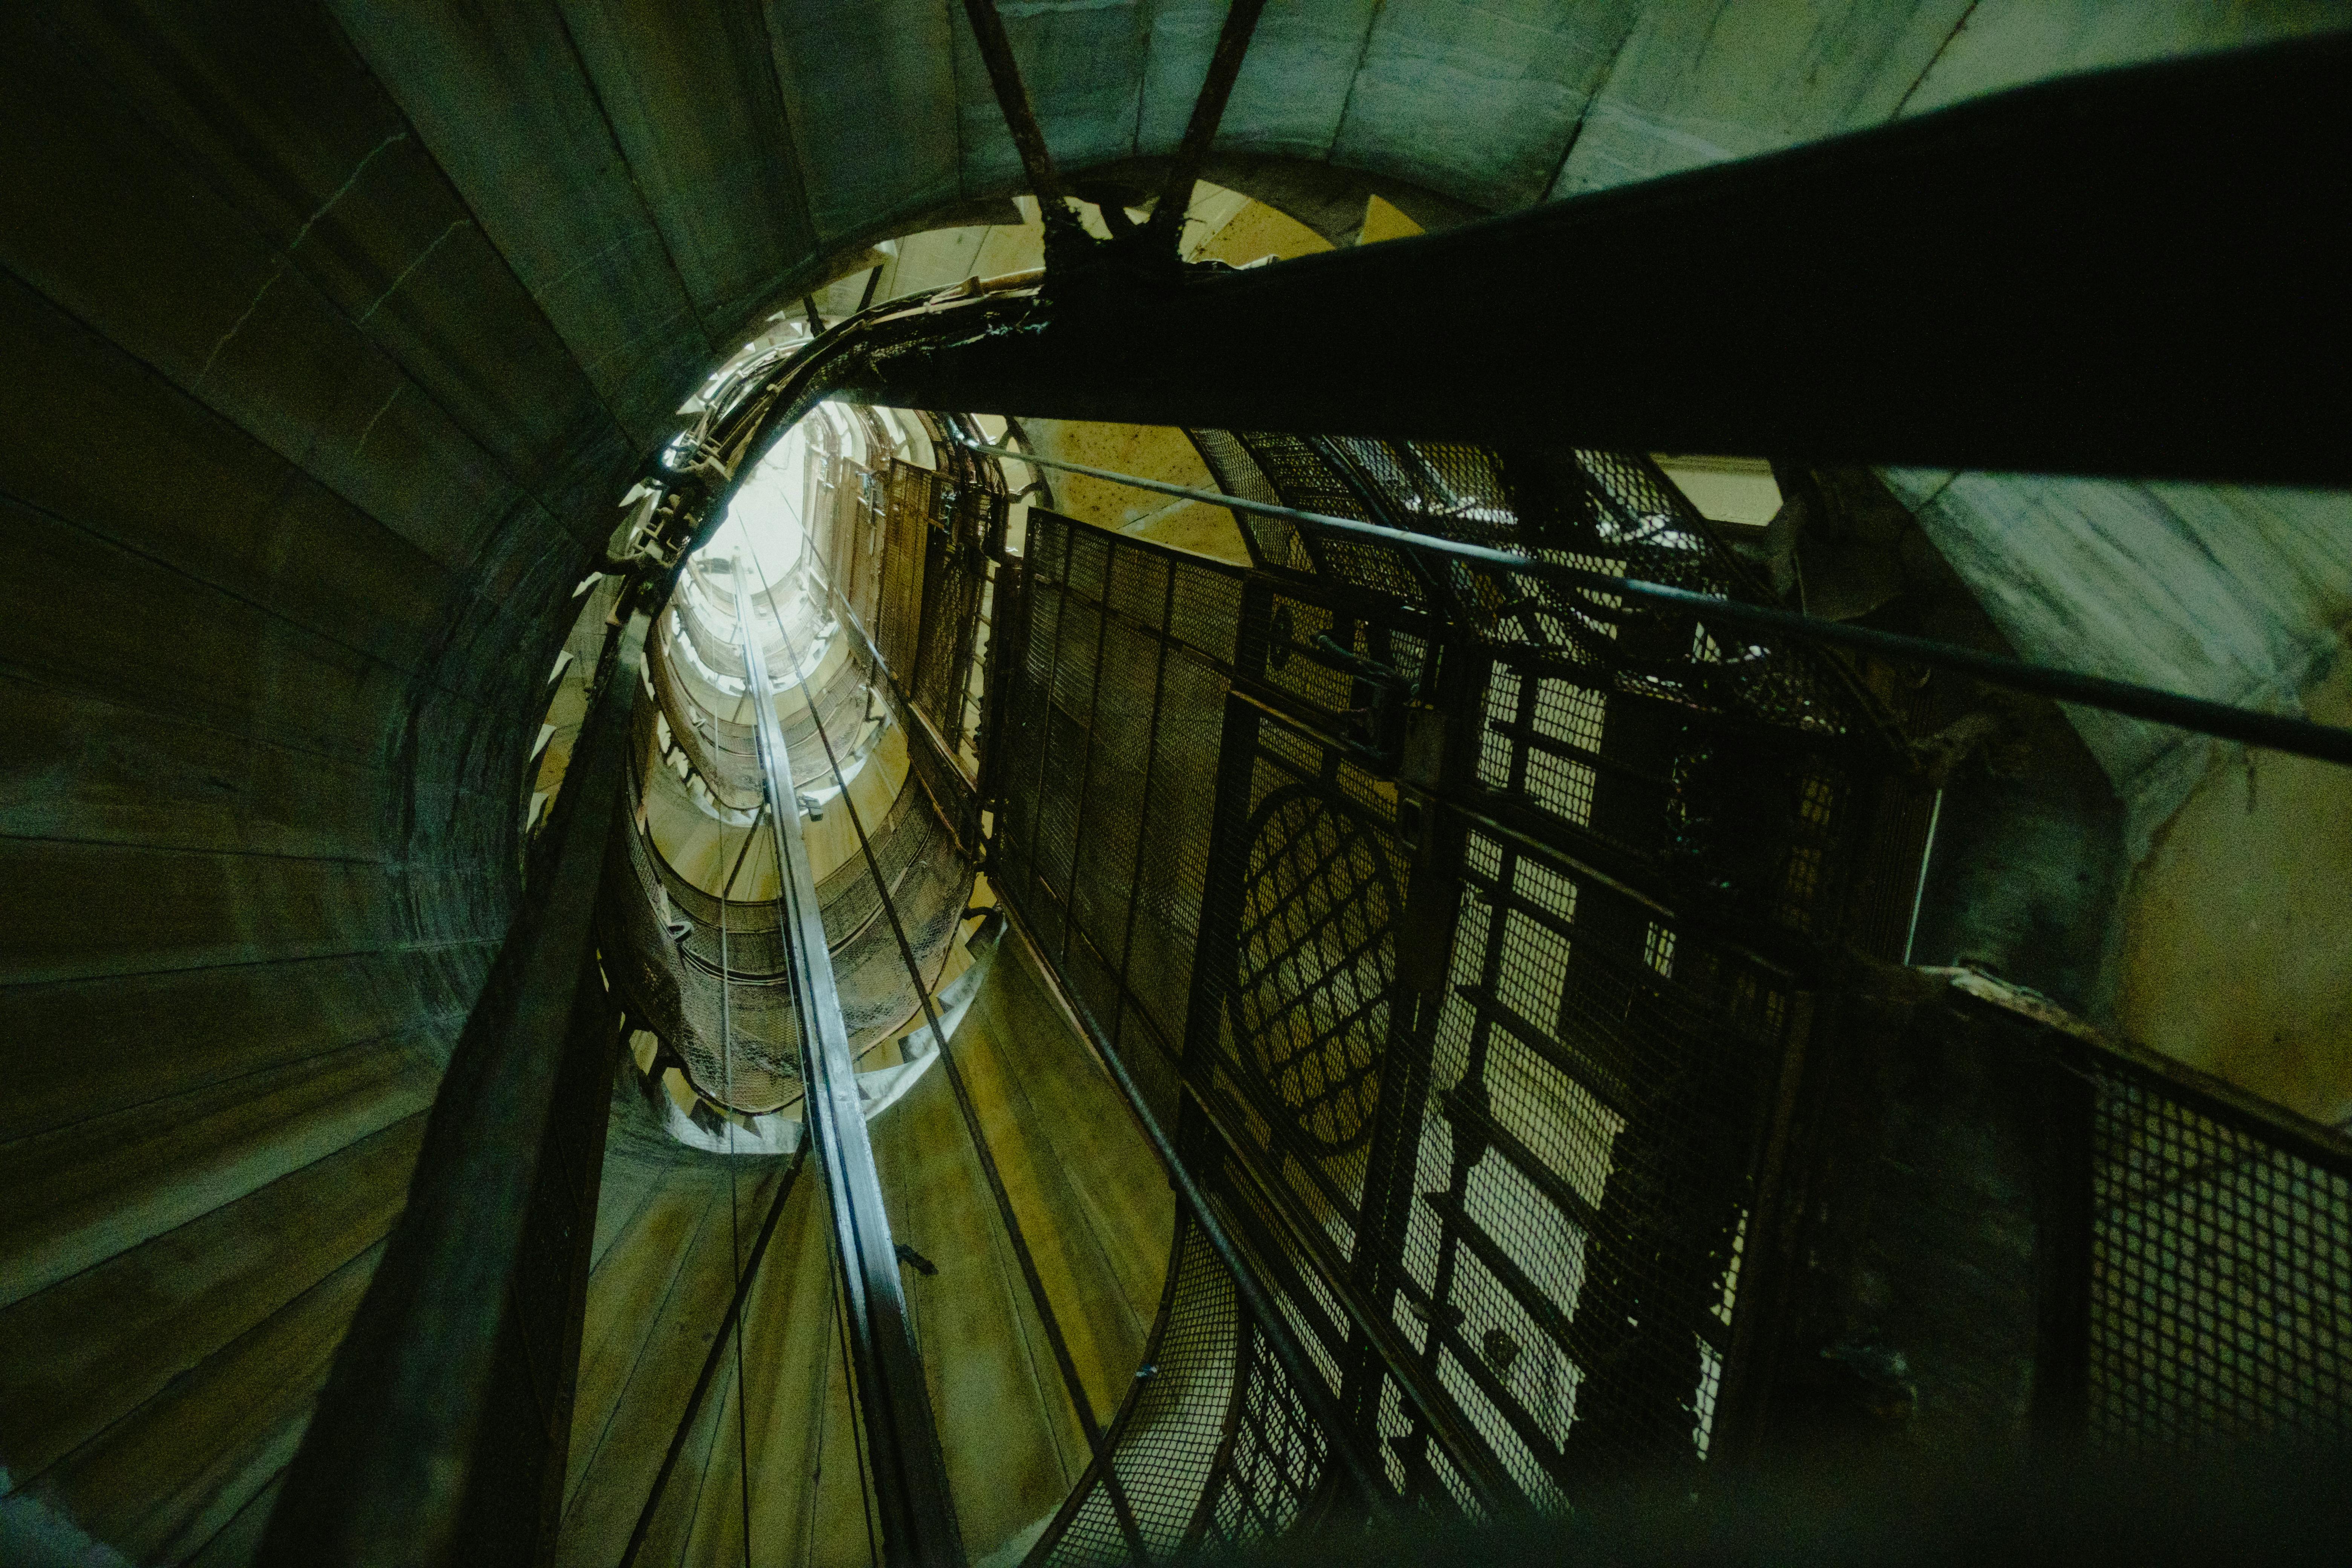
Step 2: Model the Elevator Shaft as a True 3D Shaft Opening
Never cut individual holes in floor slabs or walls for each elevator stop. Instead, use the shaft tool in Revit to create a single parametric object. This ensures:
- Your shaft opening is continuous from pit to overhead and linked to all building levels
- Any location change automatically updates the opening across all floors
- MEP and structural teams can see an accurate, protected void and route systems accordingly
For shaft-centric projects like hospitals, hotels, or multi-bay commercial cores, assign each bank a distinct Revit shaft object for independent coordination.
Step 3: Nail Down Shaft and Cab Dimensions Before Structural/MEP Coordination
This is a step we can’t stress enough. The size and position of your shaft dictate the placement of columns, core walls, and mechanical rooms. Early in schematic design, document:
- Cab size: Standard passenger elevator cabs are typically 54″ x 80″; for goods, hospital, or specialty use, larger cabs (from 6′ x 8′ to 8′ x 10′) are common
- Shaft clear width/depth: For a single 3,500 lb cab, expect approximately 7.5′ x 10’—scale up for multiple cars or custom units
- Pit depth: Typically 4 to 6 feet, validated against drive and buffer specs
- Overhead clearance: Typically 10 to 14 feet above the top landing; vital for headroom and code
- Machine room location: Overhead, adjacent, or basement machine rooms have a direct impact on core formwork and roof/mechanical design
At Kaiser Elevator, we supply detailed specification sheets and BIM content, so you can plug accurate data straight into your project model—no guesswork required.
Step 4: Cut Building Sections Through the Shaft—Early and Often
Plans alone can’t catch vertical conflicts. Use Revit sections (both longitudinal and transverse) to spot:
- Conflicts between shaft overhead and MEP equipment on upper levels
- Out-of-sync stop elevations versus finished floor levels
- Interference from structural members (beams, core walls, stairwells)
- Door clearance, sill alignments, and swing zones
Bringing these sections to a coordination meeting across architecture, structure, and MEP saves everyone time—and minimizes mid-project redesigns.
Step 5: Door Openings and Landing Coordination
The exact placement, size, and alignment of elevator doors is a make-or-break detail. Get granular by modeling:
- Door opening size: 3’6” to 4’ wide, 7’–8’ tall for standard passenger cabs; up to 4’ x 10’ for larger units
- Landing depth: At least 5 feet in front of a single door (expand for multi-cab banks)
- Door sill and frame details: Lock these in early to avoid out-of-plumb installations
- Frame and threshold embedding: Clarify with the structure team to ensure the frame gets proper support in the core
Remember, a small misalignment here causes long tail headaches: accessibility violations, failed inspections, and unnecessary patching that slows down schedule completion.
Step 6: Proactive Coordination with Adjacent Systems
The best BIM plans put mechanical, electrical, and plumbing systems in context with the shaft—never inside it. Your Revit modeling should:
- Visually reserve shaft void space so no ducts, risers, or conduit cross that space unintentionally
- Designate at least 1 foot of separation between shaft and major risers where possible
- Include realistic clearance zones for beams and avoid intermediate supports near the shaft perimeter
- Review shaft position relative to exit stairs (to satisfy code minimums for clear distance)
Weekly clash detection reports in BIM, distributed across all project consultants, will significantly reduce jobsite change orders and lost time.
Step 7: Extract Detailed, Actionable Documentation from the BIM Model
At the end of the design process, Revit should produce more than beautiful graphics—it needs to deliver contract-ready documentation, including:
- Dimensioned floor plans, showing door positions and reference grids
- Comprehensive sections through the shaft, verifying pit depth and overhead clearances
- Enlarged door elevation details and section cuts for sill/frame integration
- Shaft schedules listing capacities, speed, stops, and core details
- 3D axonometric views for use in coordination meetings
Clear, coordinated documents generated from your Revit model are your main weapon against field coordination errors and surprise RFIs.
Best Practices for BIM Revit Elevator Modeling That Work
- Family-based elevator car modeling: Consider parametric Revit families for cab layouts, so any design update instantly percolates throughout the model
- Lock the shaft location early: This prevents accidental, project-breaking moves
- Use plan regions for detailed shaft graphics: Focus your granularity on floors where equipment changes
- Cross-check against code: Ensure pit depths, headroom, emergency lighting, and fire-ratings all line up with local requirements before your first submission
- Export shaft geometry to MEP/structural trades: Force the conversation early so that nobody designs ‘through’ your elevator
Getting Your Elevator Supplier Involved Early—Why It Matters
Waiting until CDs are half done to bring in your elevator partner? That’s a fast-track to late-breaking surprises. Bring us in at schematic or early DD if:
- Your floor heights are irregular, or you need non-standard door heights/landings
- You’re installing four or more cars in a bank
- You’re tackling specialty applications like car stackers or hospital/freight cabs
- Your shaft is pinched by existing cores or MEP risers
- You want to maximize value engineering and minimize downstream RFIs
Our team will provide you with the drawings, data, and BIM components that prevent design-stage errors—and can typically help reduce installation costs while keeping your project on schedule.

The Bottom Line: Why Early Elevator BIM Modeling Delivers Real ROI
Using BIM and Revit for elevator shafts is not just about graphics—it saves your project real time and money by preventing field conflicts before they surface. An uncoordinated shaft can mean weeks of rework, tens or hundreds of thousands lost to change orders, and a ripple effect across structure, MEP, and finish trades. Early BIM coordination sets you up for a smooth, efficient install every time.
Looking for more hands-on guidance? Our resources on traction elevator submittals and elevator plans for new construction offer further depth on coordination topics.
Next Steps: BIM Your Elevator the Right Way
- Lock floor-to-floor elevations and cross-check across all trades
- Create the elevator shaft as a fully parametric opening from pit to overrun in Revit
- Produce and review sections through the shaft with your design/engineering teams
- Export the model for clash detection—and resolve issues now, not in the field
- Bring your elevator supplier into the process for spec sheets, dimensioned families, and real-world install guidance
If you want to elevate your next project, we’re here to help integrate high-performance, value-engineered elevators that seamlessly fit your BIM and site installation plans. Find out more about our full-service offering at Kaiser Elevator—or connect directly for project reviews, BIM content, and specification support.